Head Wraps in Yarn – Guide to Crafting Stylish and Comfortable Accessories
Head wraps crafted from yarn are a beautiful blend of art, tradition, and fashion. These accessories, with their roots in various cultures, have evolved into a modern style statement. Herein, we delve into the world of head wraps in yarn, guiding you through their history, creation, and styling. Yarn head wraps are not just fashion pieces; they are expressions of creativity and personal style.
The resurgence of handcrafted fashion accessories like yarn head wraps has brought a renewed appreciation for DIY crafts. These head wraps, often crocheted or knitted, offer a personalized touch to any outfit. They can be as simple or as elaborate as the maker desires, accommodating a range of skills from beginners to advanced crafters. This guide aims to provide comprehensive insights into making and styling these unique accessories.
Yarn head wraps also serve a functional purpose, providing warmth and comfort while being stylish. With the versatility of yarns available today, these wraps can be made for any season, matching various fashion needs. Whether you’re looking for a cozy winter accessory or a light summer headband, yarn offers endless possibilities. This article will analise everything from selecting the right yarn to different techniques for crafting head wraps. Whether you’re a seasoned crafter or just starting, this guide will help you create beautiful, stylish head wraps in yarn.
The Historical Significance of Head Wraps in Yarn
Head wraps have a rich history, deeply rooted in various cultures around the world. Originally, they served as practical head coverings, but over time, they evolved into significant cultural symbols. The use of yarn in head wraps is a modern twist on this traditional accessory, merging historical significance with contemporary style.
In many societies, head wraps were more than mere fashion statements; they were indicators of social status, marital status, and even wealth. The adaptation of yarn in making head wraps introduced a new dimension to this traditional accessory. Yarn, with its variety of textures and colors, has brought a modern flair to these culturally significant items.
The transformation of head wraps over time reflects the evolution of fashion and craft. From simple cloth wraps to elaborately designed yarn creations, they have adapted to changing fashion trends while maintaining their cultural essence. This adaptability is what makes yarn head wraps not only stylish but also deeply meaningful.
Today, yarn head wraps are celebrated for their blend of tradition and fashion. They are a testament to the enduring nature of cultural symbols and the creative potential of traditional crafts. By wearing a yarn head wrap, one not only makes a fashion statement but also connects with a rich historical legacy.
Selecting the Right Yarn for Your Head Wrap
The choice of yarn is in creating the perfect head wrap. The right yarn can ensure comfort, durability, and the desired aesthetic. When selecting yarn for a head wrap, consider factors like texture, weight, and color. These elements will greatly influence the look and feel of the finished product.
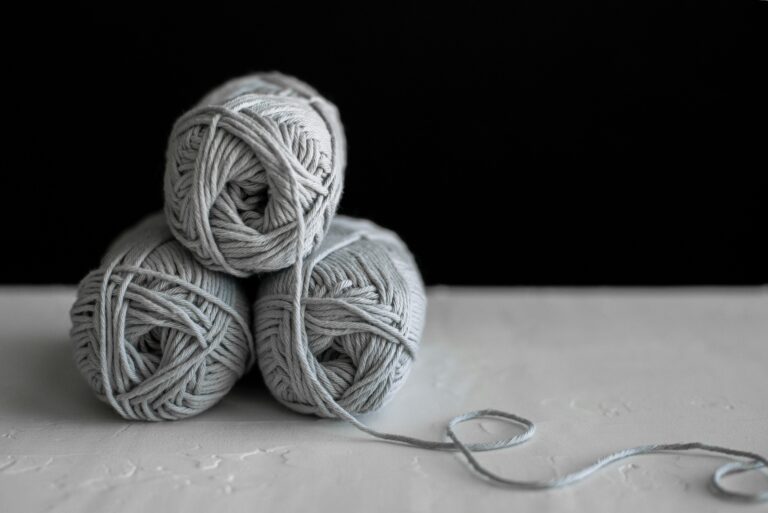
For head wraps, soft yarns that are gentle on the skin are ideal. Materials like cotton, bamboo, or soft wool blends are excellent choices. They offer the necessary softness without compromising on durability. Moreover, these yarns come in a variety of colors and textures, allowing for creative freedom in design.
The weight of the yarn also plays a significant role. Lighter yarns like fingering or sport weight are perfect for spring and summer head wraps. They provide enough coverage without being too heavy or hot. For colder months, thicker yarns like worsted or chunky weights are better suited. They offer warmth and have a cozy feel.
Color selection adds personality to the head wrap. Whether you prefer bold and bright colors or subtle and muted tones, the vast array of yarn colors available can cater to any preference. Color can also be used to add patterns or intricate details, making the head wrap a true reflection of your style.
Basic Tools and Materials Needed for Crafting Head Wraps in Yarn
To begin crafting head wraps in yarn, a few basic tools and materials are essential. First and foremost, you need the right crochet hook or knitting needles. The size of these tools will depend on the yarn weight; typically, thicker yarns require larger hooks or needles. A pair of sharp scissors is necessary for cutting the yarn. A tapestry needle is also needed for weaving in ends, ensuring a neat finish to your work. These basic tools are readily available and are essential for any yarn crafting project.
Additional materials like stitch markers can be helpful, especially for complex patterns. They help in keeping track of stitch counts and pattern repeats. For those who want to add a decorative touch, items like beads, buttons, or embroidery threads can be incorporated into the design. A ruler or measuring tape is for ensuring that your head wrap fits correctly. Accurate measurement is key in achieving the desired size and fit. It’s always a good idea to measure your head or the head of the person for whom you’re making the wrap to ensure a comfortable fit.
Guide to Crocheting a Simple Head Wrap
Creating a simple crocheted head wrap is a great project for beginners. Start by selecting a basic crochet pattern, like a simple band or a rectangular piece that can be sewn together at the ends. Choose a yarn that is comfortable against the skin and a hook size recommended for that yarn. The first step is to create a foundation chain. The number of chains will depend on the desired width of the head wrap. Once the foundation chain is complete, proceed to the first row, which usually involves basic crochet stitches like single or double crochet.
As you work, it’s important to keep the tension consistent. This ensures that the head wrap has an even look and feels comfortable to wear. If you’re new to crocheting, practice maintaining an even tension for a few rows before starting the actual project. After reaching the desired length, which should wrap comfortably around the head, finish off by cutting the yarn and pulling it through the last loop. Sew the ends together to create a loop, and your simple head wrap is ready. You can add embellishments or create more rows for a wider band, depending on your preference.
Advanced Crochet Techniques for Stylish Head Wraps in Yarn
For those with more experience in crochet, advanced techniques can elevate the style of head wraps. Techniques like lacework, cable stitching, or color blocking can add intricacy and flair to your designs. These techniques require a good understanding of crochet stitches and patterns but result in beautifully detailed head wraps.
Lacework involves creating patterns with open spaces, which can give head wraps an elegant and delicate appearance. This technique is perfect for lightweight, summery head wraps. Cable stitching, on the other hand, creates a textured, raised pattern, ideal for thicker, winter head wraps.
Color blocking or using multiple colors in your head wrap can create striking designs. This technique involves changing yarn colors at designated points in the pattern. It’s a great way to add visual interest and personalize the head wrap to match your style or wardrobe. For advanced projects, it’s helpful to read through the entire pattern before starting. This gives you a clear idea of the project’s scope and any special techniques or stitches you might need to use. Always make a gauge swatch to ensure that your head wrap will be the right size and fit comfortably.
Innovative Designs for Head Wraps in Yarn
The realm of head wrap design in yarn crafting is vast and full of creativity. Beyond basic patterns, there are numerous innovative designs that can be Analyzed. The realm of head wrap design in yarn crafting is vast and full of creativity. Beyond basic patterns, there are numerous innovative designs that can be analyzed. These designs offer a platform for crafters to experiment with different yarn sorts, colors, and stitching techniques, creating unique and eye-catching head wraps.
One approach to innovative design is to play with the shape and structure of the head wrap. Instead of traditional bands or strips, consider experimenting with geometric shapes, asymmetrical designs, or even incorporating 3D elements. These unusual shapes can add a modern twist to your head wrap, making it a standout piece.
Texture is another element that can significantly enhance the design of a head wrap. Incorporating different stitches in one piece, such as combining smooth, flat stitches with raised, textured ones, can create a visually interesting and tactilely pleasing head wrap. Texture adds depth and character, making the head wrap more engaging to both see and touch.
Color is a tool in the design of head wraps. Utilizing color theory, you can create color combinations that are harmonious or contrasting, depending on the desired effect. Stripes, gradients, and color blocks are just a few ways to play with color in your head wrap designs. Remember, the choice of color can completely change the look and feel of your creation.
Finally, the finishing touches can make a big difference in your head wrap. Consider adding embellishments like beads, bows, or decorative buttons. These small details can transform a simple head wrap into a stylish accessory. Always ensure that any additions are attached and comfortable to wear, especially if they come in contact with the skin.
Knitting Versus Crocheting Head Wraps in Yarn
Knitting and crocheting are both popular methods for creating head wraps, each with its unique characteristics and benefits. Understanding the differences between these two techniques can help you choose Finest approach for your head wrap project. Knitting generally results in a fabric with a smooth, even texture. It’s excellent for creating lightweight, stretchy head wraps that drape beautifully. Knitted head wraps often have a more delicate and refined look, making them ideal for elegant, sophisticated styles. The flexibility of knitted fabric also means these head wraps can fit comfortably on a variety of head sizes.
Crocheting, on the other hand, offers more rigidity and structure. Crocheted head wraps tend to be thicker and more robust, providing excellent warmth and coverage. This method is great for creating textured patterns like cables or lace, which can add a lot of visual interest to the head wrap. Crocheted head wraps are typically quicker to make, as the technique often allows for faster progress.
Both knitting and crocheting allow for a wide range of design possibilities. The choice between the two often comes down to the desired look and feel of the head wrap, as well as the crafter’s personal preference and comfort with each technique. Some crafters even combine both knitting and crocheting in a single project for added texture and complexity. The key to success in either method is practice. Both knitting and crocheting require a certain level of skill and familiarity with the techniques and stitches. Starting with simple projects and gradually moving to more complex patterns is a great way to develop your skills.
Maintenance and Attention for Your Yarn Head Wraps
To ensure the longevity and beauty of your yarn head wraps, proper attention and maintenance are essential. The sort of yarn used will largely dictate finest attention practices, but there are general guidelines you can follow to keep your head wraps looking their best. Firstly, washing your head wrap correctly is. Hand washing is often the safest option, especially for delicate yarns or those with embellishments. Use lukewarm water and a mild detergent, gently agitating the water without stretching or pulling the fabric. Rinse thoroughly to remove all soap residues.
Drying your head wrap properly is just as important as washing it. Avoid wringing out the water, as this can distort the shape. Instead, press the excess water out gently and lay the head wrap flat on a clean, dry towel. Reshape it as needed and let it air dry away from direct sunlight and heat sources.
Storage is another important aspect of maintaining your head wrap. Keep it in a cool, dry place, away from moisture and sunlight, which can fade colors and weaken fibers. Folding the head wrap neatly or rolling it can prevent creases and help retain its shape. For yarns prone to pilling, a fabric shaver can be used to remove the pills and keep the head wrap looking fresh and new. Be gentle and do not damage the fabric. Regular maintenance will help extend the life of your head wrap, keeping it as beautiful as the day you made it.
Styling Tips for Head Wraps in Yarn
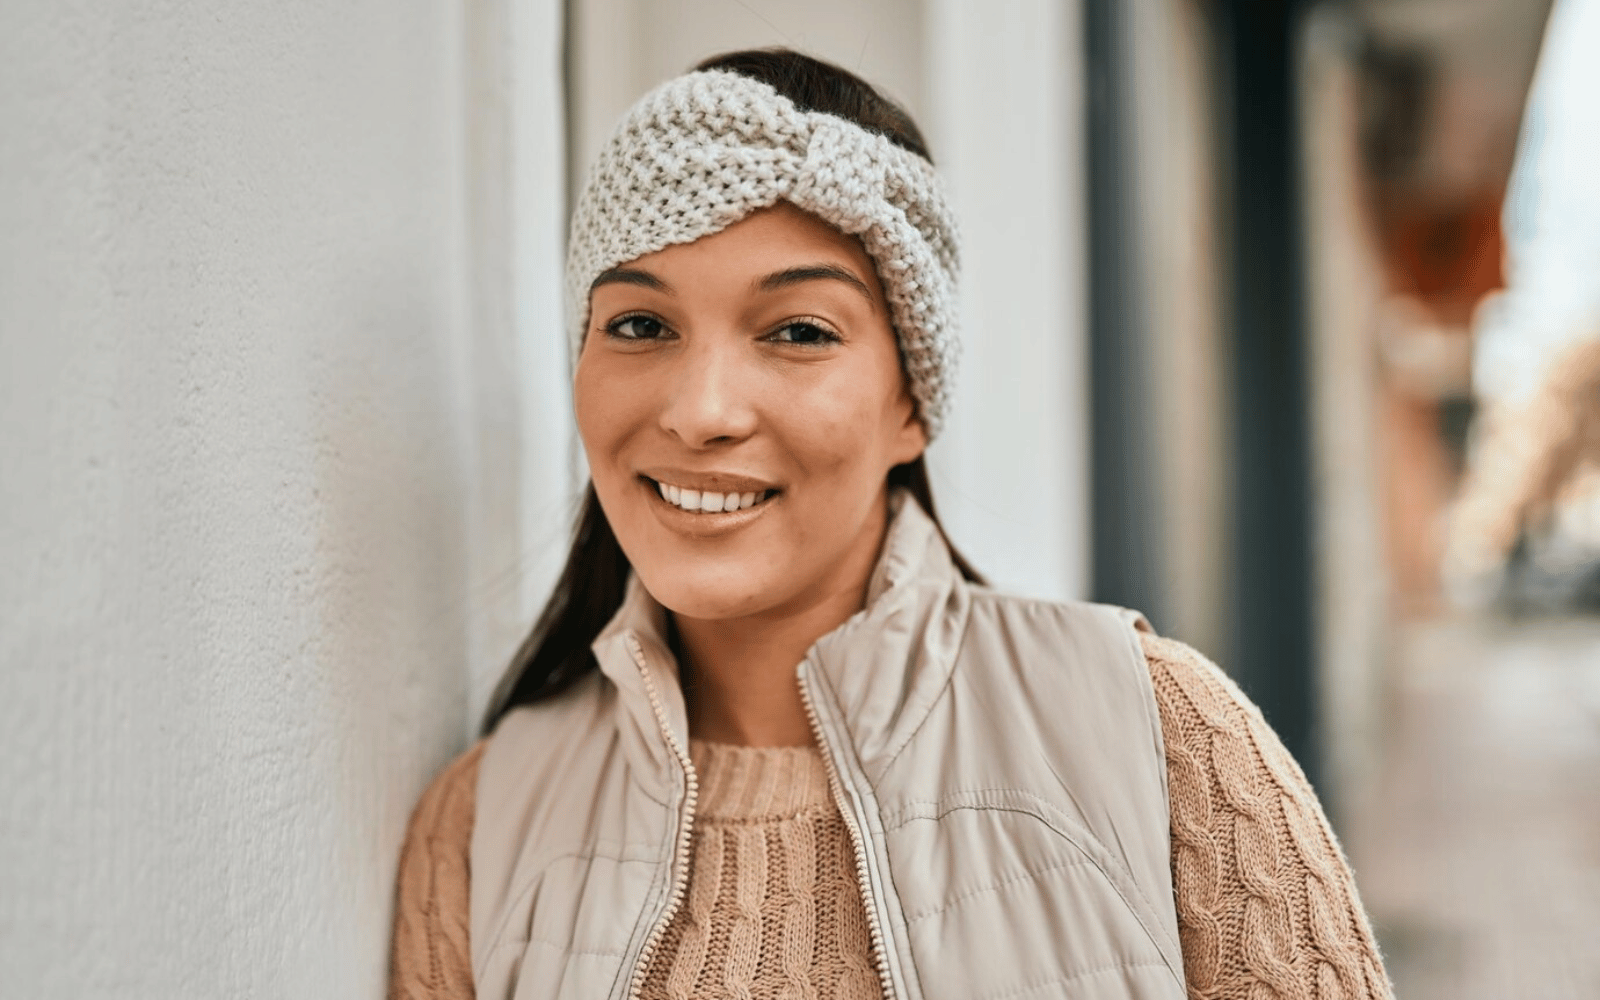
Head wraps in yarn are not only a crafty creation but also a fashionable accessory. They can be styled in various ways to complement different looks and occasions. Here are some tips on how to stylishly incorporate head wraps into your wardrobe. Firstly, consider the occasion. A chunky, textured head wrap might be perfect for a casual day out, while a delicate, lacy design might be better suited for a more formal event. The style of the head wrap can significantly influence the overall look, so choose accordingly.
Next, think about how to wear the head wrap. There are several ways to tie and position a head wrap, from a simple band around the forehead to a full cover over the head. Experiment with different styles to see what looks best with your hairstyle and face shape. Color coordination is key in styling your head wrap. You can either choose a head wrap in a color that complements your outfit or go for a contrasting color for a bold statement. If your head wrap has multiple colors, try to match one of those colors with your outfit to create a cohesive look. Lastly, remember that confidence is your best accessory. Wear your head wrap with confidence, and it will surely enhance your overall appearance. A head wrap is not just a piece of clothing; it’s a statement of style and personality, so embrace it and make it your own.
Outcome and Encouragement for DIY Head Wraps in Yarn
Creating your own head wraps in yarn is a journey filled with creativity, learning, and personal expression. It’s an opportunity to turn a simple skein of yarn into something beautiful and functional. Whether you’re a beginner or an experienced crafter, the world of yarn head wraps is inviting and rewarding.
Remember, the key to success in crafting head wraps is patience and practice. Your first few attempts might not be perfect, but each stitch is a step towards improvement. Don’t hesitate to unravel and start over if necessary. The beauty of handcrafting lies in the ability to refine and perfect as you go.
Joining crafting communities, both online and offline, can be incredibly beneficial. Sharing your creations, seeking advice, and getting inspired by others’ work can enrich your crafting experience. Moreover, these communities often provide a sense of belonging and encouragement, which is invaluable, especially when you’re just starting.
Finally, take pride in your handcrafted head wraps. Each one is a reflection of your unique creativity and effort. Wear them with confidence, gift them to loved ones, or even consider selling them if you’re inclined. The joy of seeing something you created being used and appreciated is immeasurable.
Finally, crafting head wraps in yarn is more than just a hobby; it’s an art form that allows for self-expression and personal growth. So, pick up your needles or hook, choose your yarn, and start on this wonderful crafting journey. The possibilities are endless, and the rewards are many. Happy crafting!
See More At: woolen8wonders.com

