Knit One, Purl Two: The Ultimate Knitting Tutorial for Starters
Interested in learning the art of knitting but not sure where to start? This comprehensive tutorial covers everything you need to know to begin your knitting journey. From basic materials like yarn and knitting needles to techniques such as casting on stitches and reading knitting patterns, we’ve got you covered. Whether you’re a total beginner or want to brush up on your skills, this guide is perfect for all levels of knitters. So grab your materials and start knitting!
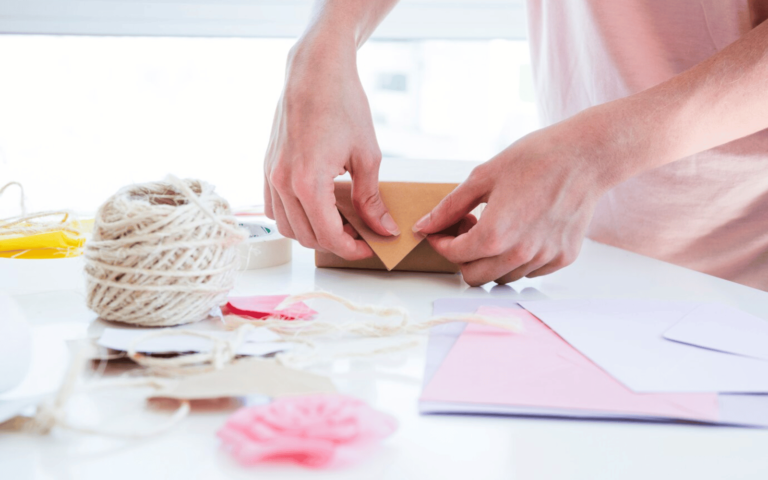
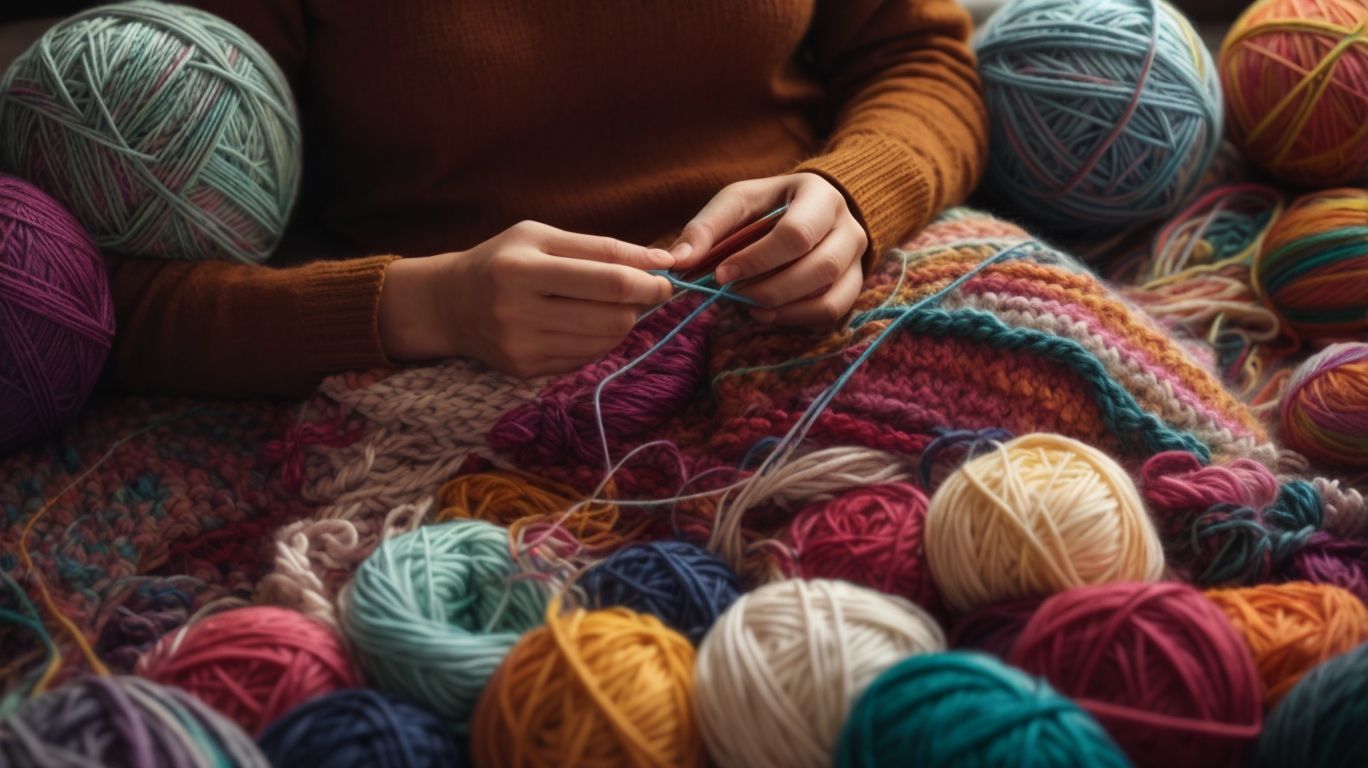
Knitting is a craft technique that involves creating fabric by interlocking loops of yarn with knitting needles. Historically, knitting dates back centuries ago, believed to have originated in the Middle East before spreading to Europe and beyond. This traditional craft has deep cultural roots, often passed down through generations as a means of creating clothing, blankets, and various other textiles. Yarn plays a crucial role in the knitting process, coming in various textures, colors, and thicknesses to allow for versatile creations. Knitting needles, both straight and circular, are the tools used to manipulate the yarn loops and bring intricate patterns to life. Today, knitting has evolved beyond a utilitarian craft to a popular hobby and even an art form, with individuals exploring innovative techniques and designs to push the boundaries of the craft.
What Are The Basic Materials Needed For Knitting?
To start knitting, you will need essential materials such as yarn, knitting needles, scissors, and a measuring tape. Yarn is perhaps the most crucial component of any knitting project. It comes in various types, including acrylic, wool, cotton, and blends. Each type offers unique characteristics such as softness, durability, and stretchability, influencing the texture and appearance of the final piece.
Regarding knitting needles, they are available in different sizes ranging from small, delicate ones for intricate lacework to larger needles for chunky knits. The needle size you choose affects the tightness or looseness of your stitches, which impacts the overall drape and feel of the fabric. Pairing the right yarn with the appropriate needle size is essential for achieving the desired outcome in your knitting projects. Understanding these variations allows you to create items that are not only visually appealing but also comfortable to wear.
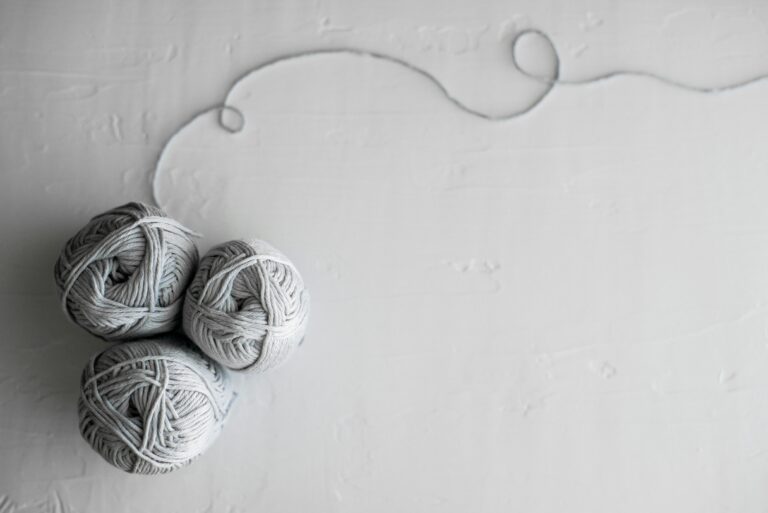
Yarn
Yarn is the primary material used in knitting projects, available in various colors, weights, and compositions. Regarding yarn types, there are several options to consider. Some common choices include wool, acrylic, cotton, and blends of different fibers. Each type of yarn has its own characteristics and properties that can significantly impact the final knitted product. Plus the fiber content, yarn is also categorized by its weight. Yarn weight categories range from the thinnest lace weight to the thickest super bulky weight. The weight of the yarn you choose can determine the drape, texture, and overall look of your knitted creation. Experimenting with different yarn types and weights can open up a world of creative possibilities in your knitting projects, allowing you to achieve unique textures, patterns, and finishes.
Knitting Needles
Knitting needles are essential tools for creating stitches in knitting, available in different sizes and materials. Knitting needles are generally categorized into two broad types – straight needles and circular needles. Straight needles come in varying lengths, usually between 9 and 14 inches, while circular needles consist of two connected needles joined by a flexible cord. These needles are available in various sizes, measured in millimeters or US sizes, which determine the gauge and tension of the knitted fabric. The materials used for knitting needles, such as metal or wood, can impact the texture and drape of the final knitted piece.
Scissors
Scissors are necessary for cutting yarn and finishing off knitting projects with precision and neatness. Having a pair of sharp, dedicated scissors specifically for your knitting projects is essential to ensure clean cuts without fraying the yarn. The right pair of scissors can make a significant difference in achieving professional-looking edges and tidying up loose ends. They allow you to trim excess yarn with ease, giving your projects a polished and polished finish. Invest in a good pair of scissors designed for cutting fabric and yarn to enhance the overall quality and appearance of your knitted creations.
Measuring Tape
A measuring tape is essential for ensuring accuracy in sizing, gauge, and dimensions of knitted garments or items. Using measuring tape in knitting is not just about measuring the length of yarn or width of fabric, but also plays a crucial role in determining stitch counts, project length, and overall sizing. Knitters rely on this versatile tool to check the size of finished pieces, correctly establish tension and ensure that the final product matches the desired dimensions. Whether determining the length of a cardigan, the circumference of a hat, or simply counting the number of stitches in a row, a measuring tape is a fundamental component of any knitting project.
How To Hold The Knitting Needles?
Properly holding the knitting needles is crucial for maintaining tension and control while creating stitches. There are various types of grips that knitters can utilize, such as the pencil grip, knife grip, or even a modified grip to suit personal comfort. Experimenting with different grips can help find the most ergonomic and efficient technique for each individual. Hand positioning also plays a significant role. Keeping wrists straight and elbows at a comfortable angle can prevent strain and fatigue during long knitting sessions. Mastering techniques like English, Continental, or Portuguese style can impact speed and ease of knitting. Finding the ideal combination of grip, hand position, and technique can greatly enhance the knitting experience.
How To Cast On Stitches?
Casting on stitches is the first step in starting a knitting project, and techniques like slip knot, long-tail cast on, and knitted cast on are commonly used. One popular method of casting on is the slip knot, which involves creating a loop with your yarn. This method is quick and easy, making it ideal for beginners. The long-tail cast on method is known for its elasticity and neat edge, making it suitable for projects like scarves and garments. On the other hand, the knitted cast on provides a sturdy edge and is great for projects where you need a firm foundation, like blankets or bags.
Slip Knot
A slip knot is a fundamental technique in knitting used to create the first loop on the needle before casting on additional stitches. When starting a knitting project, the slip knot serves as the anchor point from which all subsequent stitches will flow. It provides a secure beginning to the piece and ensures that the stitches are uniform in size and tension. There are various ways to tie a slip knot, each with its own advantages depending on the project at hand. Some knitters prefer a simple loop method, while others opt for a twisted loop style for added stability. The choice of slip knot technique can influence the overall look and feel of the finished piece.
Long-Tail Cast On
The long-tail cast on method is a popular way to start knitting projects, creating a neat and elastic edge for the work. For those who are new to knitting, the long-tail cast on may seem daunting at first, but with practice, it becomes a go-to method for many projects. To perform this cast on, you will need a yarn tail long enough to provide the necessary number of stitches for your project. Begin by making a slip knot and placing it on the needle. Advantages of the long-tail cast on include its stretchiness, making it ideal for projects that require some give, such as hats or socks. Achieving consistent tension is crucial to maintaining an even edge; ensure the tension remains constant as you cast on each stitch.
Knitted Cast On
The knitted cast on technique involves creating new stitches directly onto the needle, ideal for projects requiring a stable foundation. This method is widely used in projects where a tidy and stretchy edge is desired, such as hats, sock cuffs, and sweater hems. Beginners often find the knitted cast on to be user-friendly, as it mimics the basic knit stitch they are already familiar with. Compared to other casting on methods, the knitted cast on offers a neat and elastic edge that seamlessly blends into the knitting. This technique can be easily mastered with practice and is a versatile skill for knitters of all levels.
How To Knit?
Knitting involves two basic stitches: the knit stitch and the purl stitch, which are used to create various textures and patterns. The knit stitch is created by inserting the needle into the front of the loop on the left-hand needle and wrapping the yarn around the needle before pulling it through. This results in a smooth, flat stitch commonly used in stockinette stitch patterns. On the other hand, the purl stitch is made by inserting the needle from the back to the front of the loop and wrapping the yarn in the opposite direction before pulling it through, creating a bumpy texture. Knit stitches are often used for a smooth fabric, while purl stitches offer a textured appearance. Combining these stitches in different ways can produce intricate designs like cables, ribs, and seed stitch.
Knit Stitch and Purl Stitch
The knit stitch is a foundational stitch in knitting, creating a smooth V-shaped pattern on the fabric. Knitting the basic knit stitch involves inserting the needle through the front loop of the stitch on the left-hand needle, wrapping the yarn counterclockwise around the needle, and pulling the yarn through to create a new stitch. This simple yet versatile stitch forms the garter stitch when knit on every row, resulting in a fabric with a bumpy texture and good stretch. The garter stitch is popular for beginner projects like scarves and blankets due to its simplicity and reversible nature. Advanced knitters often utilize the knit stitch in more complex patterns, such as cables or lace designs, to create intricate textures and structures in their knitting projects.
The purl stitch is the reverse of the knit stitch, producing a bumpy texture on the knitted fabric. While the knit stitch creates smooth V-shaped stitches, the purl stitch adds variety by forming raised bumps. When combined, these two stitches form ribbing, a commonly used technique that adds elasticity to knitwear. Ribbing is often seen at the cuffs and waistbands of sweaters, hats, and socks. Alternating rows of knit and purl stitches create the stockinette stitch, one of the most basic and versatile stitch patterns in knitting. The purl stitch plays a crucial role in maintaining the integrity and visual appeal of the stockinette stitch.
How To Increase And Decrease Stitches?
Increasing and decreasing stitches in knitting are essential techniques for shaping the fabric, creating curves, and intricate patterns. Understanding how to increase and decrease stitches opens up a plethora of design possibilities in knitting. For example, a yarn over can create a small hole in the fabric, adding a delicate touch to lace patterns, while knitting two together can help decrease the stitch count and shape the garment more effectively. When working on a project, knowing when and how to use these techniques can greatly affect the final outcome. Whether you’re following a pattern or designing your own piece, mastering these techniques is key to achieving the desired finish.
How To Bind Off Stitches?
Binding off stitches is the final step in completing a knitting project, securing the stitches and preventing unraveling. There are different methods for binding off stitches, each serving various purposes. The standard bind off is commonly used for regular projects, creating a clean edge. For projects that require more flexibility, such as shawls or cuffs, a stretchy bind off is preferred. This method allows the edge to stretch without becoming too tight. It’s important to pay attention to tension while binding off to ensure the finished edge matches the overall look of the project. Experimenting with different bind-off techniques can help you enhance the quality and appearance of your knitting projects.
What Are The Different Types Of Knitting Patterns?
Knitting offers a variety of patterns like garter stitch, stockinette stitch, rib stitch, seed stitch, cable stitch, and lace stitch, each creating unique textures. Each of these patterns has its own distinct characteristics and uses in knitting projects. The garter stitch is ideal for beginners due to its simplicity and reversible nature. On the other hand, the stockinette stitch provides a smooth, uniform surface, making it great for showcasing intricate designs or colorwork.
For adding elasticity to your projects, the rib stitch is a popular choice, commonly used in cuffs, collars, and borders. The seed stitch, known for its bumpy texture, adds depth and visual interest to garments like scarves or hats. When looking to create intricate cables running down your knitted piece, the cable stitch is the way to go. On the other hand, the delicate and intricate lace stitch is perfect for creating airy and lacy patterns in shawls or lightweight garments.
Garter Stitch and Stockinette Stitch
The garter stitch is a simple yet versatile pattern in knitting, characterized by rows of knit stitches on both sides. Its unique design makes it reversible, ideal for projects where both sides are visible. This pattern creates a textured fabric that lies flat and doesn’t curl at the edges, making it perfect for scarves, blankets, and dishcloths. For added interest, you can incorporate different colors to make stripes or create a color-block effect. Garter stitch can be combined with other stitch patterns like stockinette or ribbing to add complexity to your creations.
The stockinette stitch creates a smooth, flat fabric with knit stitches on the right side and purl stitches on the wrong side. One of the most common issues knitters encounter when working with the stockinette stitch is its tendency to curl at the edges due to the nature of the fabric. This curling effect happens because the knit side, being denser than the purl side, pulls the fabric inwards. To combat this, blocking is often recommended. Blocking involves wetting or steaming the finished project and then gently reshaping and laying it flat to dry. This process relaxes the fibers and helps to minimize curling. The stockinette stitch is versatile and commonly used for various projects such as scarves, sweaters, blankets, and even household items like dishcloths. Its smooth texture and neat appearance make it a popular choice for showcasing yarn colors and creating polished finishes.
Rib Stitch
Rib stitch alternates between knit and purl stitches, creating stretchy, textured fabrics often used for cuffs, borders, and ribbing. Rib stitch is highly valued for its elasticity and ability to snugly fit different body parts, making it a popular choice for edgings on garments, hat brims, and sock cuffs. This versatile pattern not only adds a visually appealing texture but also provides a comfortable stretch for movements. To maintain a consistent tension in rib stitch, knitters should pay attention to the tension of both knit and purl stitches, ensuring they are uniform in size. Adjusting needle sizes may be necessary to achieve the desired elasticity in the fabric.
Seed Stitch
The seed stitch pattern forms a bumpy texture with alternating knit and purl stitches, creating a reversible fabric with a distinctive look. The seed stitch, also known as the moss stitch, is highly versatile and commonly used in knitting projects such as scarves, blankets, and dishcloths due to its ability to lay flat without rolling at the edges. By incorporating variations in the size of the knit and purl sections, crafters can add visual interest to their pieces, making them more dynamic and unique. Whether you’re a beginner or experienced knitter, mastering the seed stitch can open up a world of creative possibilities in your handmade creations.
Cable Stitch
Cable stitch involves crossing stitches to create twists and braids on the fabric, adding intricate designs and textures. When working cable stitch, knitters usually use a cable needle to hold the stitches temporarily in the front or back to create the desired twist. Chart symbols are commonly used to represent these cable maneuvers. For instance, a slash (/) indicates a right cable twist, while a backslash (\) represents a left cable twist. These symbols are often depicted in knitting charts to guide the knitter through the pattern. Projects that showcase beautiful cable patterns include scarves, sweaters, blankets, and even hats. These patterns can range from simple twists to complex intertwining designs, offering a wide range of possibilities for knitters looking to add depth and interest to their projects.
Lace Stitch
Lace stitch creates delicate, openwork patterns with yarn overs and decreases, ideal for shawls, scarves, and decorative accents. When working with lace stitch patterns, understanding chart reading is essential. Charts visually represent the stitch sequences, allowing knitters to see how the design unfolds. This visual aid helps in following intricate lace patterns without getting lost in written instructions. For a finished lace project to truly shine, blocking becomes crucial. Blocking smooths out the stitches, defines the lace motifs, and opens up the pattern for a more professional look. When aiming for intricate lace designs, remember that patience and practice are key. Taking the time to master the different stitch combinations and techniques will lead to beautifully detailed lace pieces.
How To Read A Knitting Pattern?
Reading a knitting pattern involves understanding abbreviations, stitch symbols, gauge, and following instructions for each section of the project. Abbreviations in a knitting pattern serve as shorthand for certain types of stitches or techniques. These can vary from pattern to pattern, so it’s crucial to check the key provided at the beginning of the instructions. Stitch symbols, commonly found in charts, represent different types of stitches visually. Gauge refers to the number of stitches and rows within a specified measurement, ensuring your finished project matches the intended size. Patterns often include pattern repeats to create intricate designs. These indicate a sequence of stitches that are to be repeated multiple times across a row or round. Understanding how to follow these repeat sections is key to maintaining the pattern’s consistency throughout your project.
Maintaining Consistency in Your Knitting Projects
Once you’ve mastered the basic stitches and techniques in knitting, ensuring the consistency of your work becomes pivotal, especially if you’re aiming for professional-looking results. Consistency in knitting not only refers to maintaining an even tension throughout your project but also involves a series of checks and balances to ensure each piece you knit matches the other in size, pattern, and texture. Here are some invaluable tips to help you achieve a uniform look in all your knitting projects.
Firstly, understanding tension is crucial. Tension, or gauge, refers to how tightly or loosely you hold the yarn as you knit. It can significantly affect the size and appearance of your finished project. Before starting any new project, it is advisable to knit a small test swatch using the yarn and needles you plan to use. This practice helps you determine whether you’re working with the right tension to achieve the desired dimensions. If your swatch doesn’t match the pattern specifications, adjust your needle size either up or down to meet the gauge.
Secondly, consistency in your knitting technique plays a vital role. Whether you’re performing a knit or a purl stitch, try to pull the yarn with the same amount of force each time. This uniformity will prevent the fabric from having loose and tight patches, which can be visually unappealing and physically uncomfortable in wearables. Regularly stop and check the fabric tension by laying it flat on a surface without stretching it. This method allows you to spot any inconsistencies early and remedy them before they affect a larger portion of your project.
Thirdly, keeping track of rows and stitch counts is essential, especially for larger projects or pieces that will be sewn together, like sweaters or blankets. Miscounted rows or stitches can lead to one piece being larger than the other, causing issues during the assembly stage. A row counter or simple tally marks on a piece of paper can help you keep track of where you are in the pattern. Additionally, consistently counting your stitches after completing each row or pattern repeat can save you from potential headaches later on.
Moreover, when working on multi-piece projects, always use the same lot of yarn. Dye lots can vary slightly between batches, and using different lots may result in color discrepancies in your finished work. If you need more yarn than initially anticipated, make sure to buy extra from the same dye lot or blend the different dye lots by alternating them every few rows to minimize color differences.
Lastly, handling mistakes promptly is essential. Even experienced knitters make errors, but correcting them immediately is crucial to maintain the consistency of the project. Whether it’s a dropped stitch or a deviation from the pattern, fixing mistakes as soon as you notice them will help keep your knitting project on track and ensure that it turns out as evenly as possible.
Maintaining consistency in your knitting projects requires attention to tension, technique, tracking progress, managing materials, and promptly correcting errors. By focusing on these aspects, you can achieve beautifully consistent results that look refined and crafted with care. Whether you’re knitting for pleasure or creating pieces to gift or sell, the satisfaction of producing evenly knit items will make your crafting journey even more rewarding.